Yes, another banana bread recipe. Never gets old!
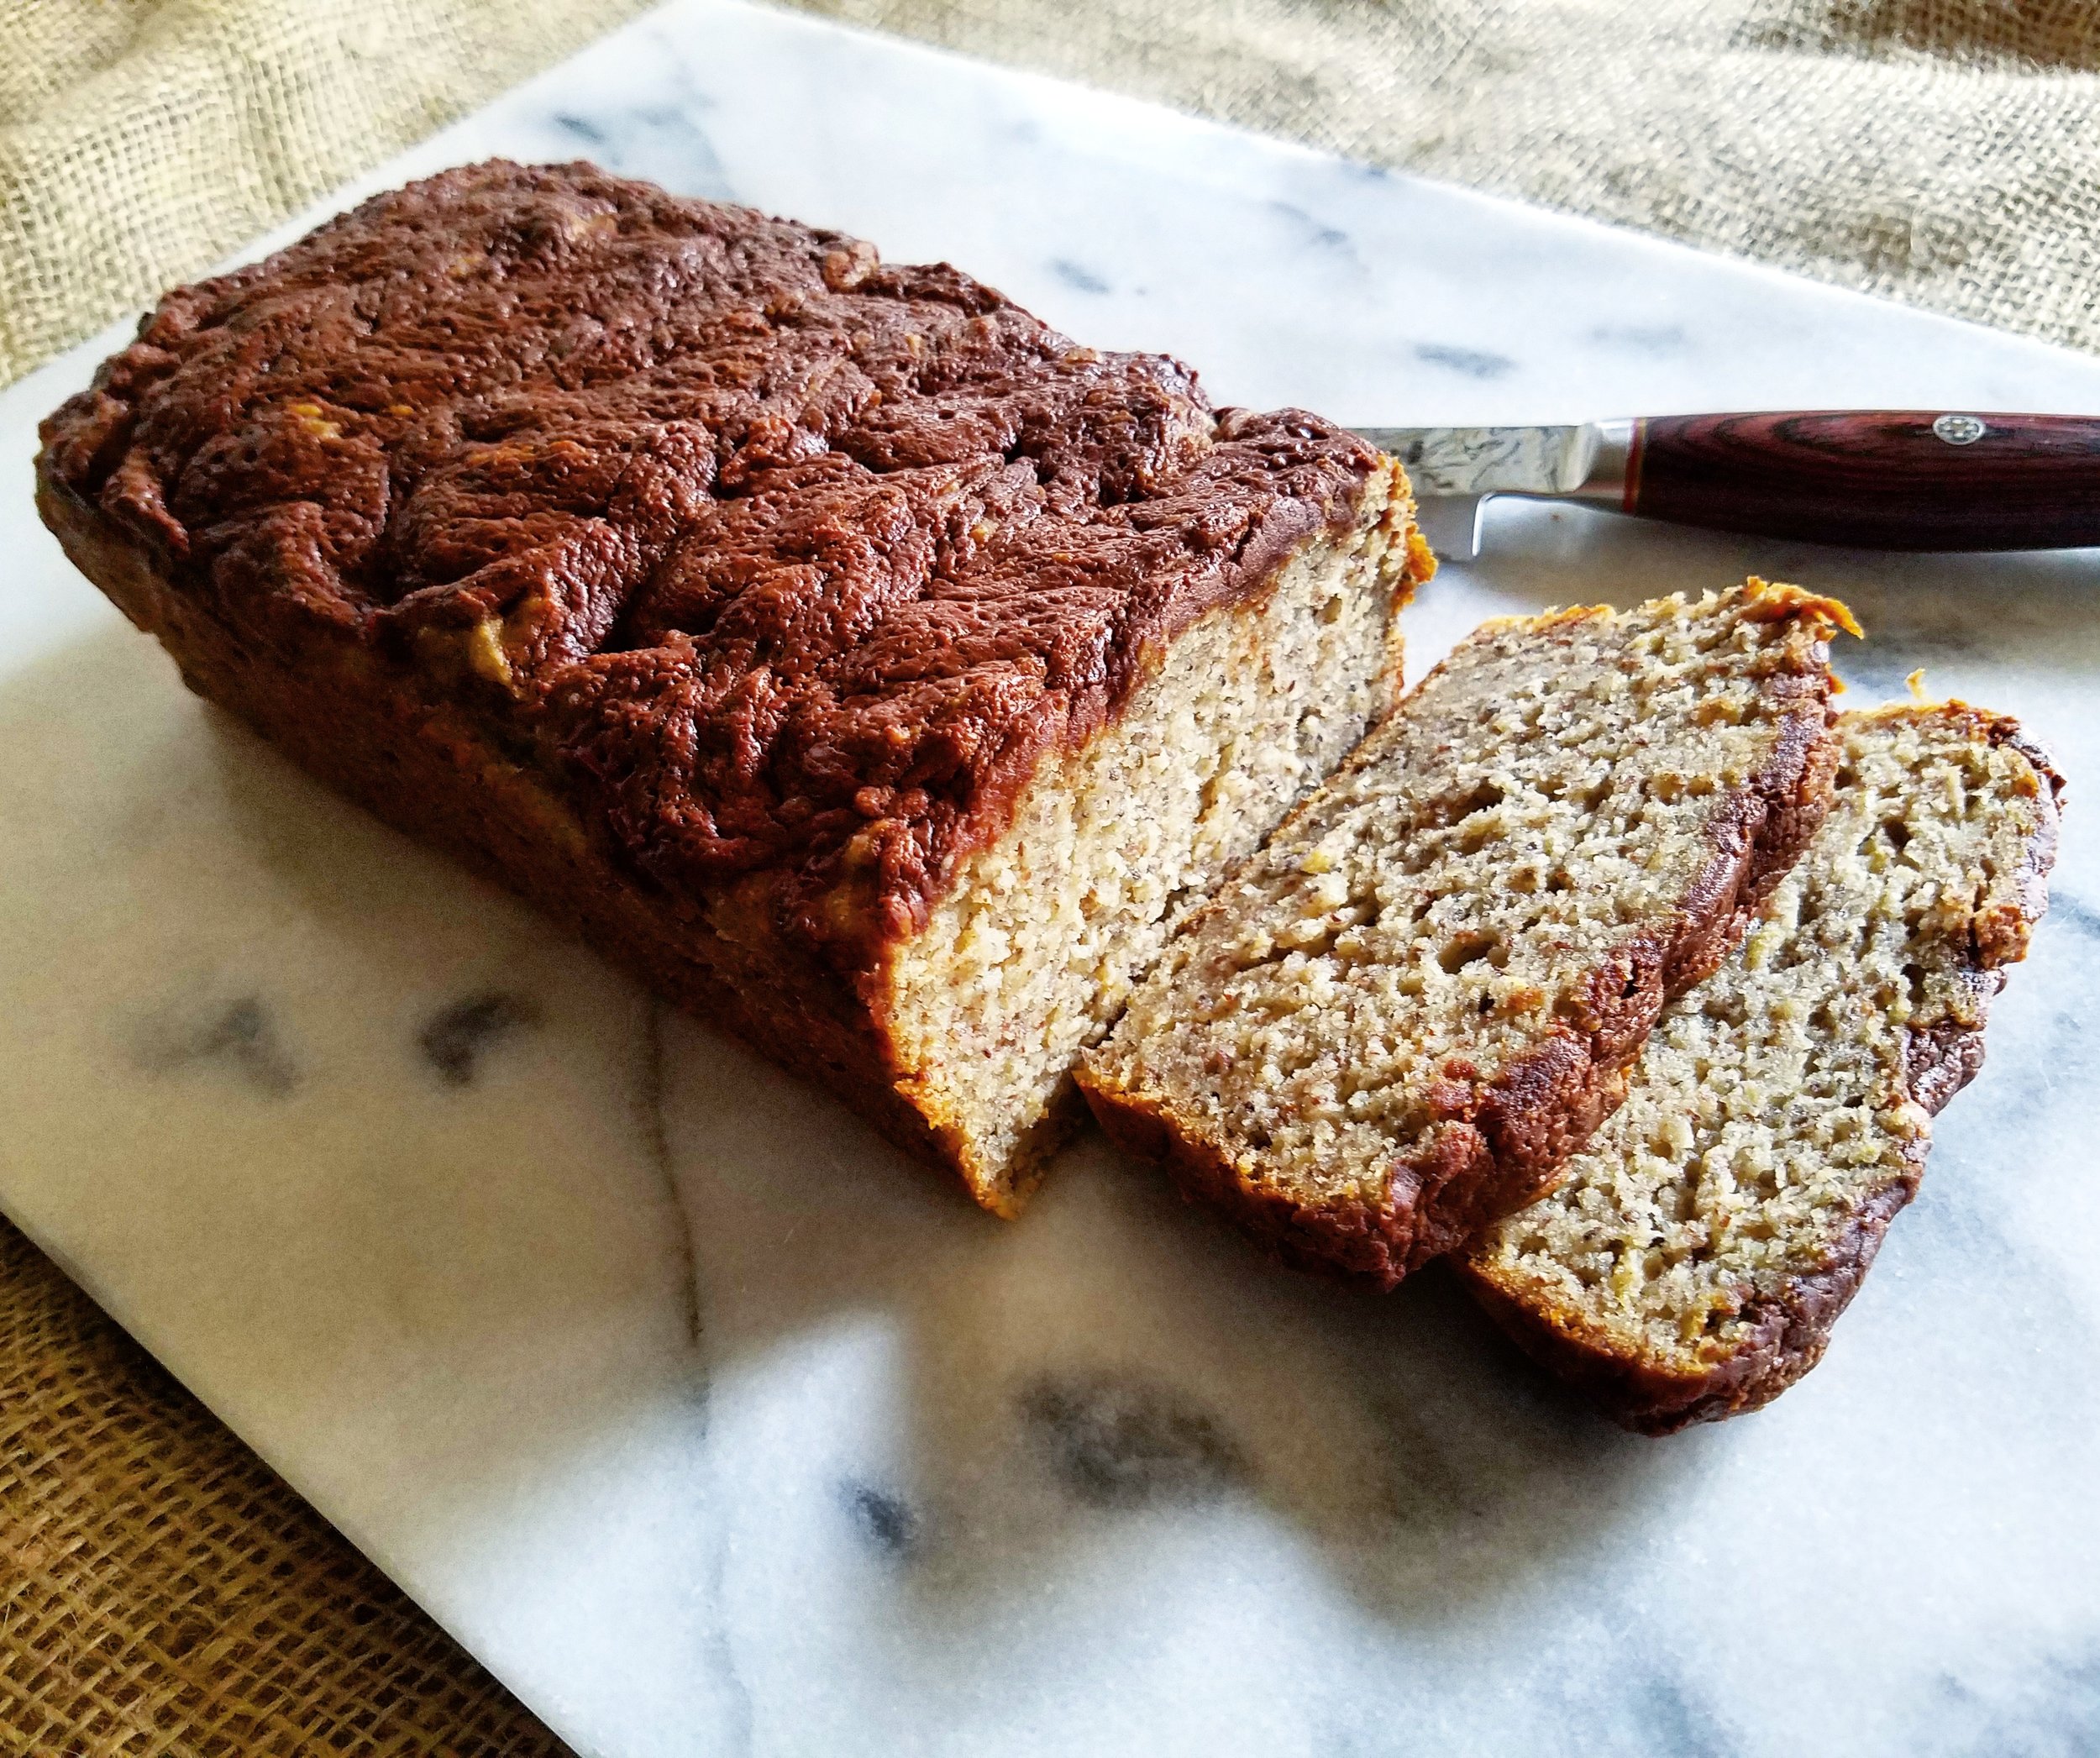
Recipe: Banana Chia Nutella Bread
Author:
Let the Good In
Prep time:
15 mins
Cook time:
55 mins
Total time:
1 hour 10 mins
Serves:
1 loaf pan
vegan and gluten-free, and made in one bowl!
Ingredients
1/4 plus 1/8 cup chia seeds
4 small ripe bananas
1 tsp pure vanilla extract
3 tbsp melted coconut oil
1/3 cup coconut or brown sugar
4 tbsp maple syrup (depending on sweetness of banana)
3.5 tsp baking powder
1/2 tsp sea salt
3/4 cup unsweetened almond or other nondairy milk
1 3/4 cup (140 g) almond meal
1 3/4 cup gluten free flour blend (like Bob's Red Mill 1:1)
2-3 tbsp vegan, lower-sugar nutella (homemade or made by Justin's or another brand)
Instructions
Preheat oven to 350 F.
Grease and/or line a loaf pan with parchment paper.
Starting at the top of the ingredient list and working your way down (except the nutella), incorporate one at a time in a large mixing bowl. Stir all well, using a whisk as well until almond meal and flour area added.
Pour the batter into the prepared baking pan, and spread out evenly with a spatula. Use a spoon to add small dollops of the nutella over the top, and spread over or swirl around as desired. TIP: You can heat up the nutella slightly over the stovetop to loosen it up before adding it to the batter to make it more easily spreadable.
Bake for 55 minutes or until an inserted toothpick comes out clean and the top has firmly set.
Let cool in pan for at least 20 minutes before transferring to a cooling rack. Store covered (like on a covered cake stand) or in the fridge. It'll keep for a few days... but good luck making it last that long :)
3.4.3177
Banana bread is an ever-evolving recipe in our kitchen, and here is the latest. It's dense, moist, and not too sweet -- but a little decadent thanks to a (vegan) nutella swirl over the top. I love all the chia seeds in it -- kind of like the banana-chia version of lemon-poppy seed. Give it a try and tell me what you think! Recipe adapted from my last version, which was adapted from this one by Minimalist Baker.SaveSaveSaveSave